Install the Solar Panels
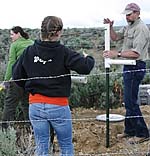
Drive two fence posts into the ground along an east-west line, situated so the solar panels suspended from the posts can point south. One of the posts should be adjacent to the proposed path for the PVC pipe from the "T", so that the cables can be attached to that post. The posts should be slightly less than 5 feet apart.
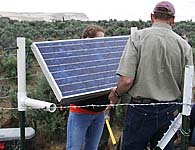
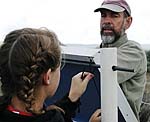
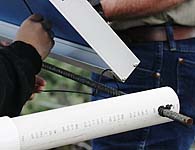
Place a Carlson Frame (PVC solar panel support) on each post, and thread two 5-foot pieces of 1/2" steel reinforcing bar (rebar) through the holes in each. The Carlson Frames should open to the south. Attach a solar panel to the rebar, using nylon cable ties and/or wire.
NOTE: The quality of nylon cable ties, even those marked "UV Resistant", vary widely. After experience with some low-quality cable ties, we recommend using wire at each corner of the solar panel in case the cable ties degrade with age and exposure to the elements.
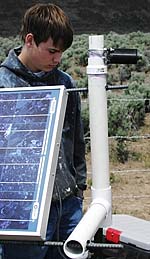
Install the GPS antenna (type will vary depending on the data recording equipment) on the top of the Carlson Frame nearest the PVC pipe route. A PVC GPS adapter provides mounting points for the two most common GPS types, for the Quanterra Q330 or the Reftek RT-130 data loggers.
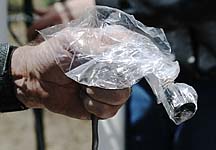
Put plastic bags over each connector at the free ends of the cables, secure in place with bread ties or rubber bands. This will keep dirt, PVC glue, and other contaminants out of the connectors during installation.
Next we will trench and install the Electronics Enclosure...

